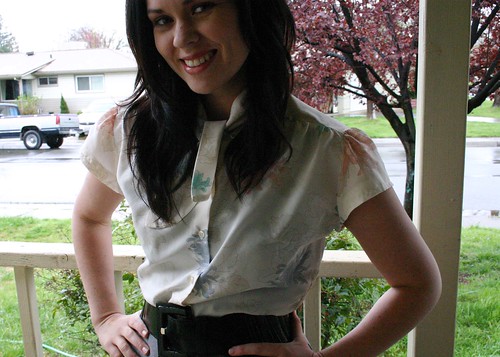
So Cruz has acquired a new skill. Well two new skills technically. Thievery and concealment. He has taken to finding things a hiding them. Behind dressers, between the mattress and the boxspring, in drawers and under clothes. Its really more of an art actually. He is yet to hide something in the same place twice. And as impressive as it may sound, it is quite menacing. His latest victim? My camera battery. It was innocently charging in its holder on the wall and the next thing I knew it was missing. Its definitely somewhere in my room because there was about a 2 minute span between the time I plugged it in and I realized it was missing. So I am on the hunt. Until then, forgive the grainy iPhone photos.
Todays Mama Made It:
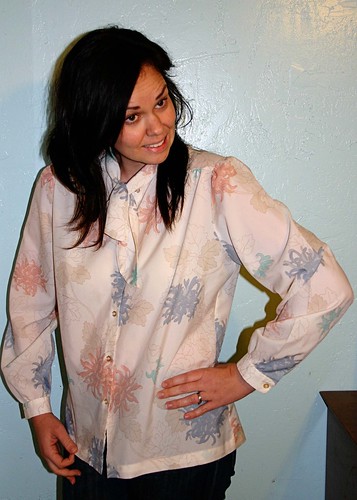
Braided necklace/bracelet
This fabric was given to me by a friend. So cute right?
You will need:
scissors
measuring tape/ruler
pen
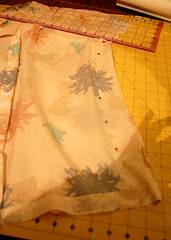
fabric
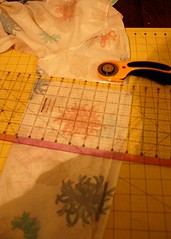
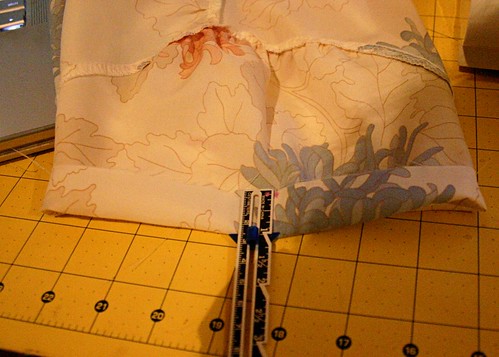
I started by making three 1 inch strips. I just went the whole length of the fabric so essentially the strips would end up being 1in wide by 36in long.
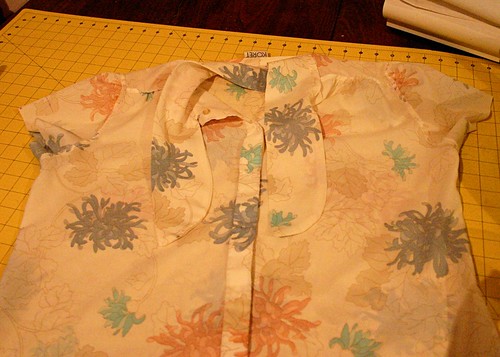
Fold each strip in half lengthwise at the top and pinch all three together at one end.
Tie that end in a knot (nothing has to be perfect, braids are SUPER forgiving on mistakes)
I like to hold one end in between my knees while I am braiding because, well, I've only got two hands and I need both of them for braiding.
Braid the fabric all the way to the end. Dont worry about keeping the fabric folded perfectly in half. It will pretty much just stay that way by itself as you braid. When you are done it should look something like this:
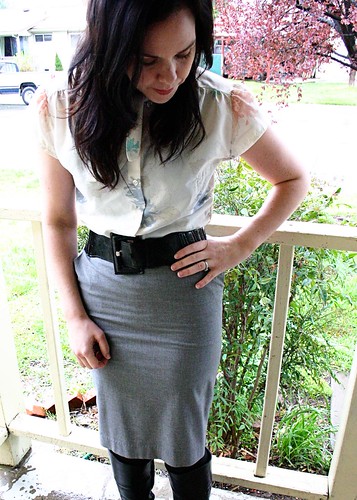
Tie off the other end. Instead of messing with a fancy closure, I just poked one end through the braid to keep it closed. Works really good, super quick and simple and you cant see it because it will be at the back of your neck.
And voila! A super simple, quick bracelet. It took me about a total of 7 minutes to make. What do you think?
Do you have something great that you would like to share with other mamas (you dont have to be a mom, obviously)? Shoot me an email, I love to hear from you and meet other crafty ladies!


 "/>
"/>


