

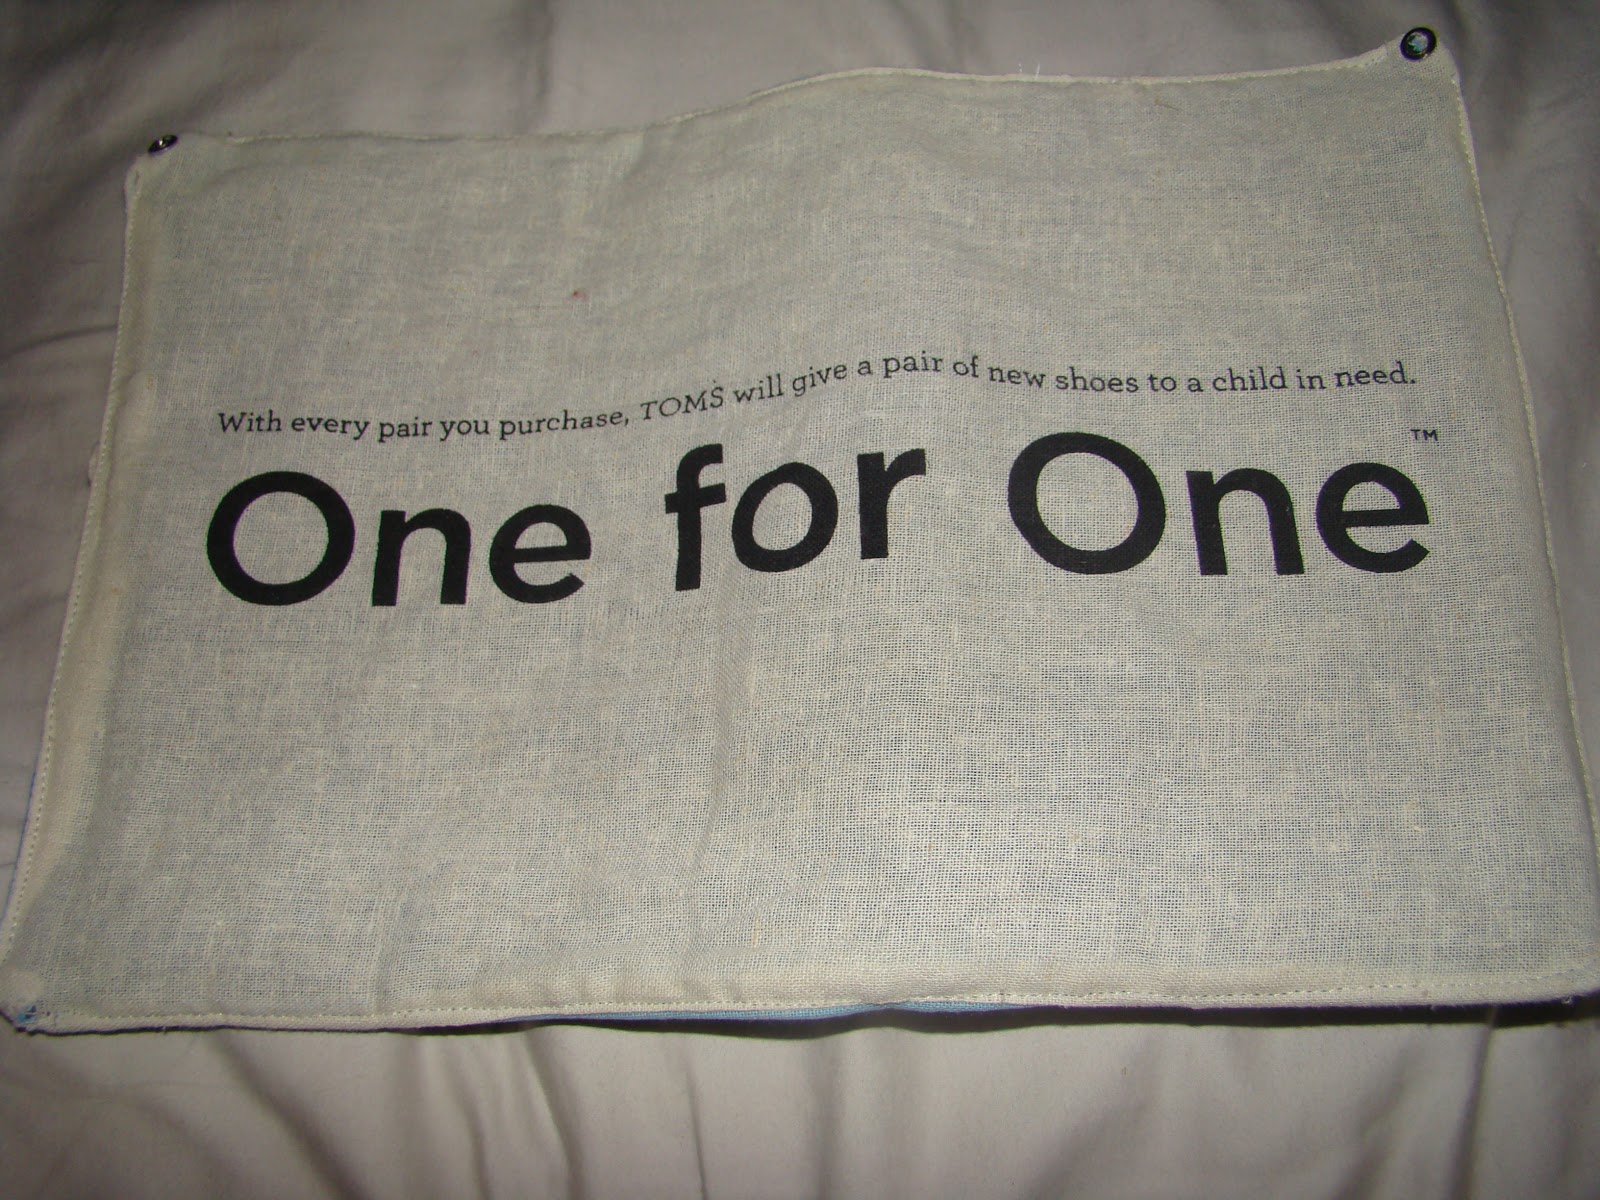
Since I have started going to church every sunday, I decided it was high time to invest a good bible. But, despite being rich in love, I am not rich in money. So instead I scrounged up an old "teen" version of a bible that was buried in a closet in my house. And since I was not going to be caught dead carrying a "teen" bible around (people already look at me like a teen mom...or the babysitter. I dont need to solidify the image for them!) I decided to make a cover for it. It is so insanely simple and it takes next to no fabric. In fact I made mine out of the "travel bag" that comes in the box when you buy a pair of TOMS.

Materials:
3 different fabrics (or all the same, depends on what you want it to look like) for the outside of the cover, the inside and the sleeves.
Scissors
Sewing Machine
Measuring Tape
20 minutes of free time (Ha, good luck)

The middle fabric (flowers) will be the outer cover
The right fabric (red) will be the inside/liner
You can also use a piece of interfacing as well if you want the cover to be less flimsy.
Start by measuring the cover of your book. Measure the height of the book by the length of the book when it is completely laid out. Add about and inch all around for seam allowances and a little wiggle room. Sew with a 1/4 inch seam allowances (but there should be room to use a 1/2 seam allowances if your more comfortable with that).
Here are some standard measurments:
A bible measuring 14 by 9
outer fabric: 15 x 10 rectangle
sleeve fabric: 7.5 x 10
liner fabric: 15 x 10 rectangle
Step one: Take your sleeve piece and fold it in half hotdog style


Step 2: Lay down your inside/liner fabric FACE UP

Step 3: Place your folded sleeves (I used a different piece of fabric for the right sleeve, for demonstration purposes) with the cut edges of the sleeve fabric matching the cut edge of the liner fabric. The folded edge of the fabric should be on the inside.

Step 4: Place the outside/cover fabric on top of all of it FACE DOWN.

When all stacked up it will look like this


second=sleeves (folded)
top=cover
Step 5: Sew all the way around the four sides, leaving a small 6 inch gap unsewn. Make sure to backstitch at the beginning and end.
Step 6: Pull the fabric inside to the outside through the 6 inch hole.
Your finished cover will look something like this when it is pulled right side out.

Make sure to sew up the little 6 inch hole. You can topstitch around the whole thing while your at it for a finished look.

And thats that. A super quick cover for your book!


it looks great!
ReplyDeletei really love that umbrella fabric. :)
I love your Mama Made It posts!
ReplyDeletePrudent Baby has a great tutorial for upcycled sweater pants you might be interested in for your little Cruz! These are the ones I made: http://michellelittle.files.wordpress.com/2011/03/015.jpg
Happy crafting Mama!
This is a great idea! I am definitely going to try this.
ReplyDelete