Showing posts with label mamamadeit. Show all posts

11.10.2011

Rice Rice Baby

Do you like that all my baby activities can be set to the tune of Vanilla Ice?

I threw this together quickly while Cruz was napping. 
Forgive the awful pictures.
But he loved it so I thought I would share.

We have been playing with rice in the sensory bin for quite some time now. It's SUCH an easy and cheap activity that can change and grow with children.

When he was really little he was happy to just run in through his fingers. 

As he got older I would let him scoop it into empty egg cartons. 

The other day we put a bunch in a big plastic bag, added paint, he shook it up for a while (his favorite part) and then we laid it out on paper to dry in the sun. When it was done he had new blue rice and just changing the color made the whole activity fun and new again.

This day I decided to bury some puff balls in it and gave him some utensils to dig it out with and some bowls to separate it into. 


We also have these wooden scoops that I ordered on etsy that I added after he woke up. They are his favorite because they are just his size (think bath salt size). 

Quick and easy is the name of the game for us lately as Cruz looses interest quickly. 

I'm just going to say rice, rice baby one more time. 

11.01.2011

Ice Ice Baby

Currently, baths are not to be had around here without some kind of color involved. 
Last week it was watercolors and paintbrushes.
This week, colored ice cubes. 
And what a big hit it has been. 


What started out as a highchair activity....


quickly carried over to the tub.


Exploration


 became experimentation.


And finally some oral investigation. 


Oh my, how I love this little boy (and that little nakee booty).  

10.21.2011

Mama Made It: Toddler Toys

As Cruz gets older and enters the ever entertaining world of Toddlerhood, I find stimulating him to be an increasingly tougher task. He has never been much of a toys kind of boy, always preferring to be outside, running, jumping, playing, puddle stomping. But lately I can see him feeling the desire to learn more and more. He tries so hard to say every word I tell him. He is loving to paint and draw and build. I started seeing him needing to be stimulated. If he isn't getting enough of that stimulation he cries for attention, or worse, television.

So, I decided to start looking around for toys and activities that would keep that little mind of his spinning.

I'm not a huge fan of plastic/computerized/battery operated toys so I knew I wanted to keep it simple. Unfortunately, these days, simple comes at a price. All the Waldorf style and Montessori style toys I could find were pretty far out of my single mama budget.

But the more I researched, the more I realized that I could definitely recreate a lot of these things on my own. So recreate, I did.

I found this great website called Woodworks Ltd that sold all the wood pieces I wanted at a wholesale price that was available to the public.

And here is a super simple little tutorial for anyone interested in making their little ones some sweet, simple toys.


I decided to make a color matching game using the little pots and the acorns (they came separate but fit together perfect). I saw this idea on etsy, retailing for close to $30.00


I was using the little pails for a different project. I was going to paint them as well, but decided to go ahead and leave them natural so that Cruz wouldn't be overwhelmed with a ton of color. 


I used watercolors that we had on hand. Paint them any way you like. You get get creative with different kinds of paint or wood stains.


Finishing the set took me about 15 minutes


Here are some colored balls that I made previously that I paired with the plain pails to create an "in and out" game. Cruz loves to take things out and put them away.


I decided to save the color matching game to give to Cruz as a Christmas present. I had quite a few leftovers, so if you know me and we have kids the same age, pretend you didnt see this because its probably what I am making your little one for Christmas!

Hope you enjoyed. 

4.12.2011


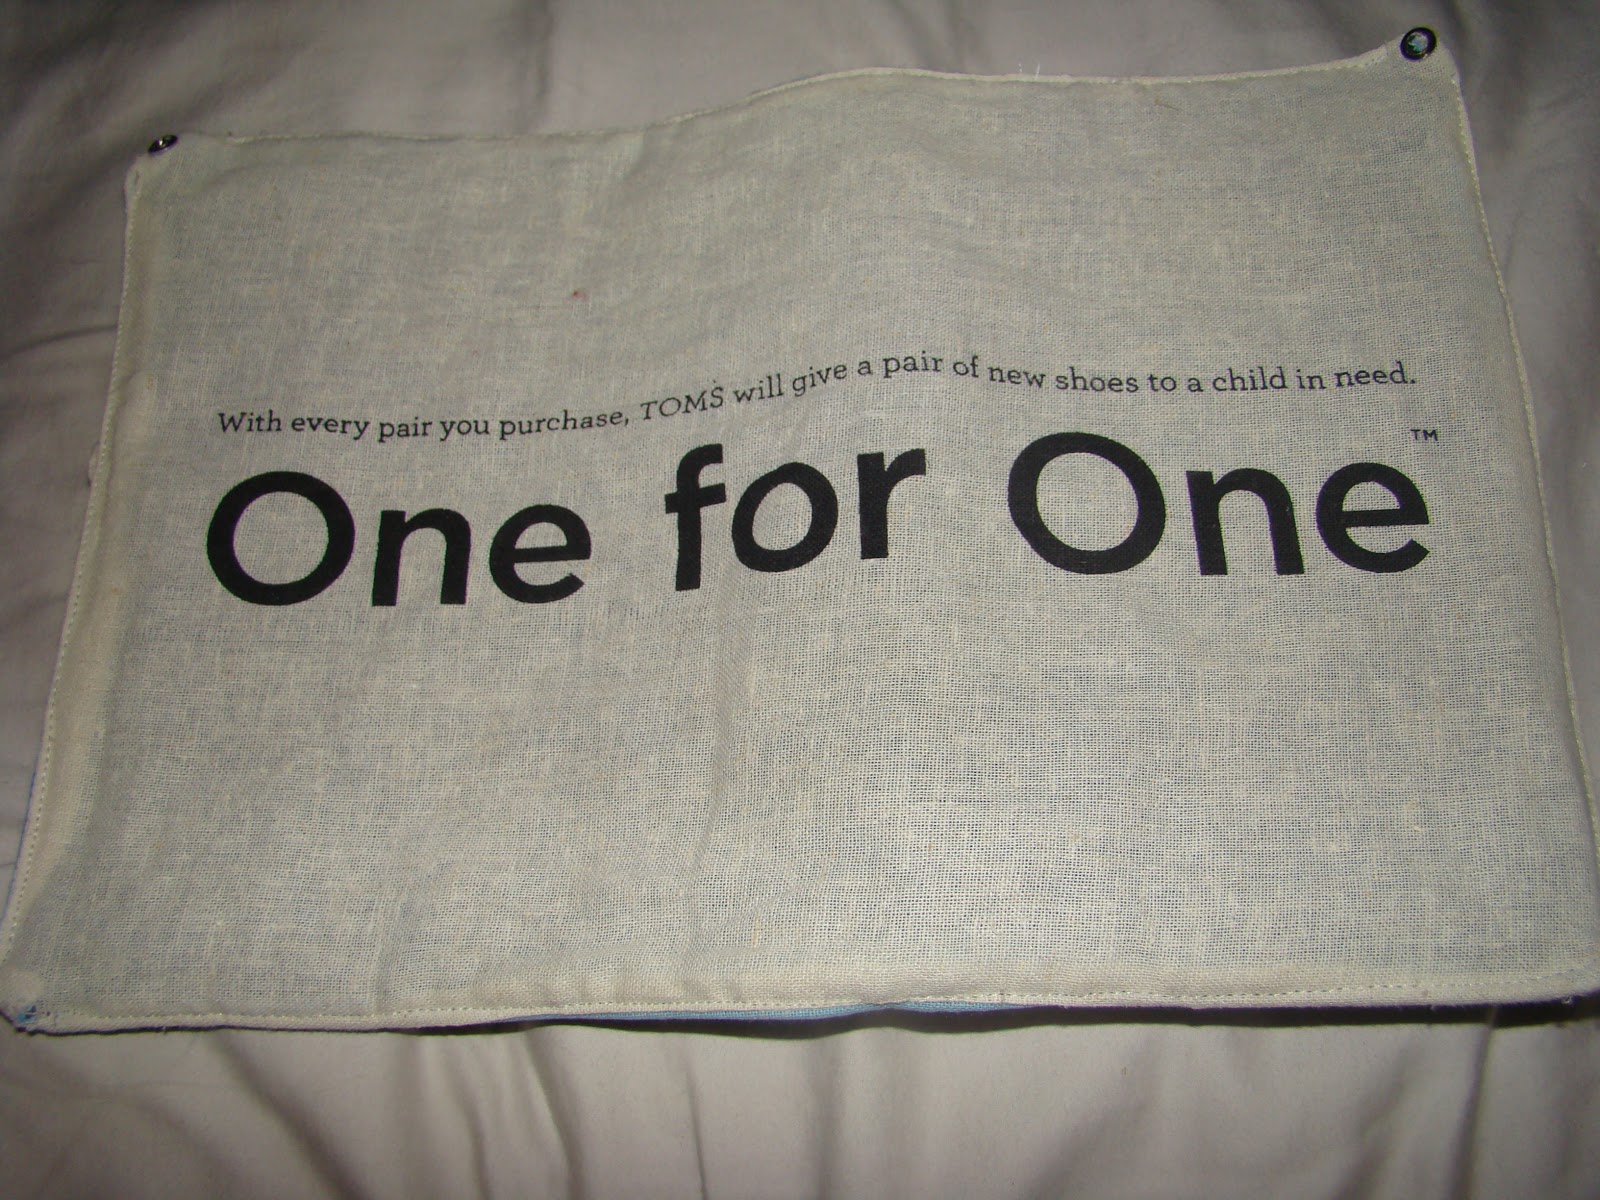
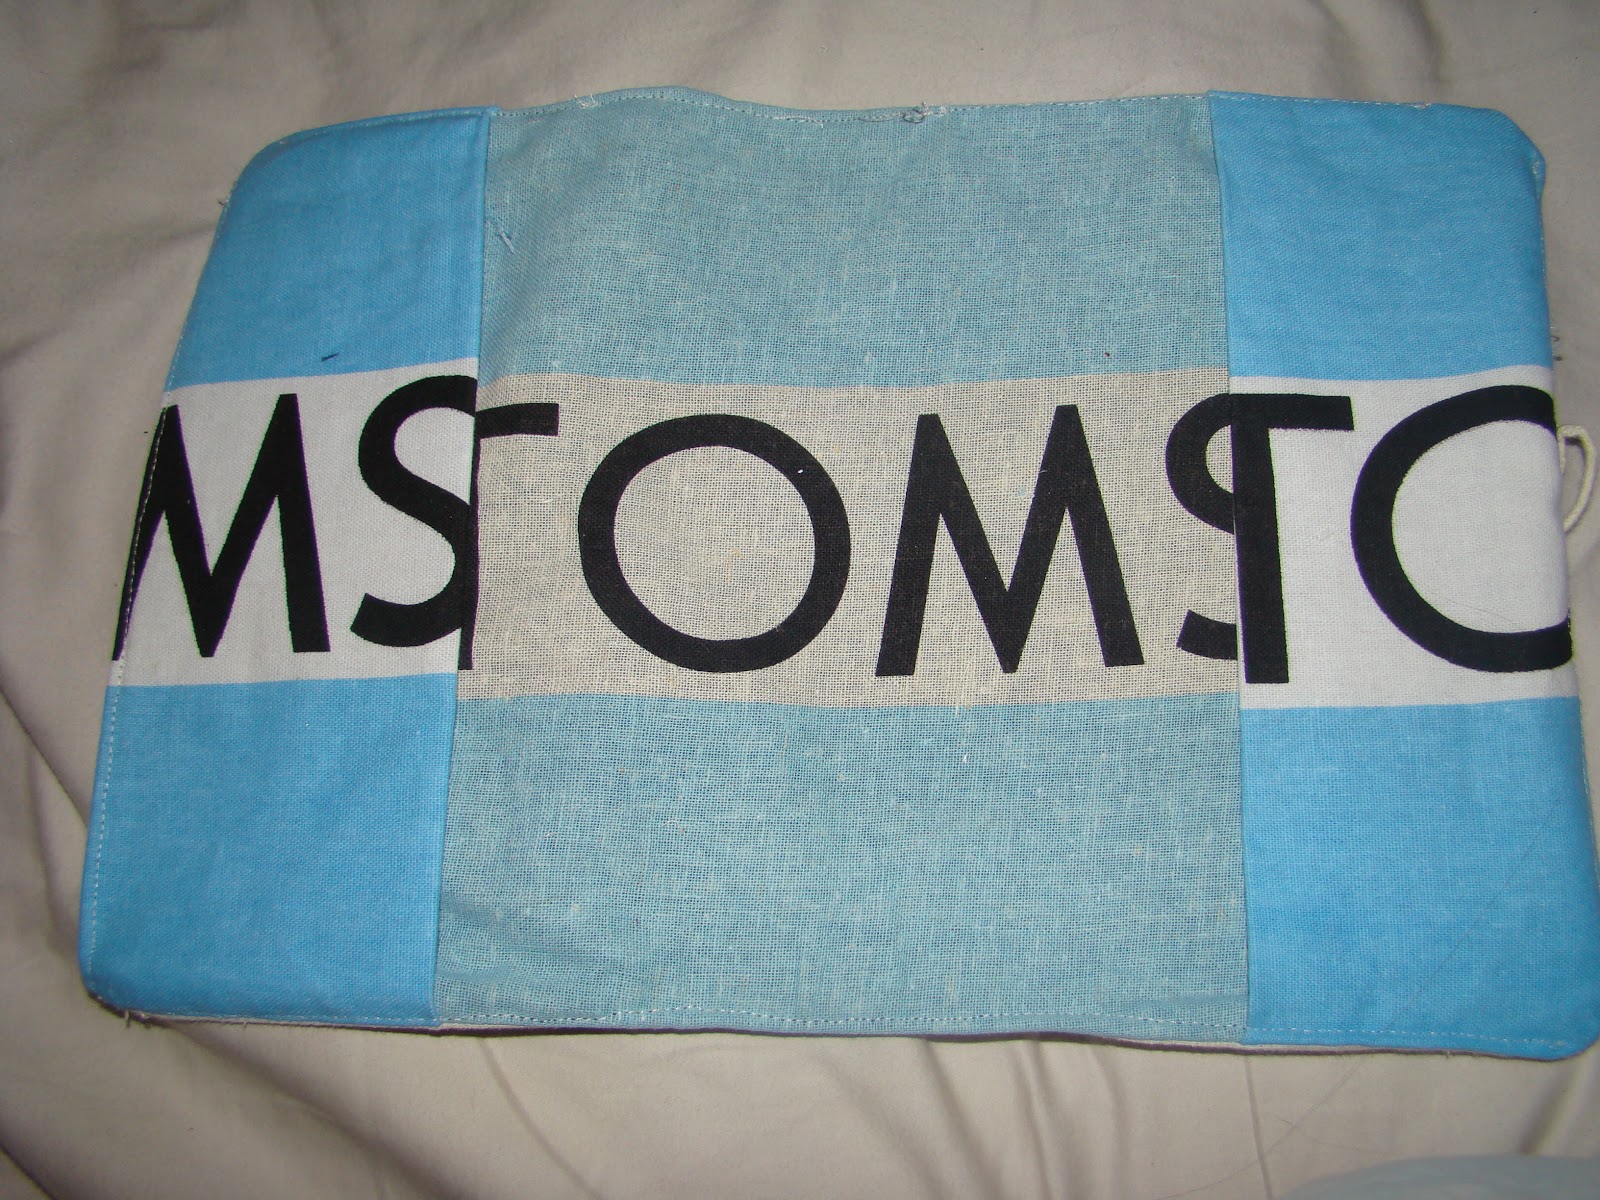
Since I have started going to church every sunday, I decided it was high time to invest a good bible. But, despite being rich in love, I am not rich in money. So instead I scrounged up an old "teen" version of a bible that was buried in a closet in my house. And since I was not going to be caught dead carrying a "teen" bible around (people already look at me like a teen mom...or the babysitter. I dont need to solidify the image for them!) I decided to make a cover for it. It is so insanely simple and it takes next to no fabric. In fact I made mine out of the "travel bag" that comes in the box when you buy a pair of TOMS.


So this is my finished cover. But since it was really hard to show the steps because the fabric was white on white, I used some other fabrics to give you the rundown on steps.

Materials:
3 different fabrics (or all the same, depends on what you want it to look like) for the outside of the cover, the inside and the sleeves. 
Scissors
Sewing Machine
Measuring Tape
20  minutes of free time (Ha, good luck)


 The first fabric on the left (the umbrellas) will be the sleeves that the cover of the book slide into.
The middle fabric (flowers) will be the outer cover
The right fabric (red) will be the inside/liner
You can also use a piece of interfacing as well if you want the cover to be less flimsy.

Start by measuring the cover of your book. Measure the height of the book by the length of the book when it is completely laid out. Add about and inch all around for seam allowances and a little wiggle room. Sew with a 1/4 inch seam allowances (but there should be room to use a 1/2 seam allowances if your more comfortable with that).

Here are some standard measurments:
A bible measuring 14 by 9

outer fabric: 15 x 10 rectangle
sleeve fabric: 7.5 x 10
liner fabric: 15 x 10 rectangle

Step one: Take your sleeve piece and fold it in half hotdog style


Step 2: Lay down your inside/liner fabric FACE UP

Step 3: Place your folded sleeves (I used a different piece of fabric for the right sleeve, for demonstration purposes) with the cut edges of the sleeve fabric matching the cut edge of the liner fabric. The folded edge of the fabric should be on the inside.


Step 4: Place the outside/cover fabric on top of all of it FACE DOWN.

When all stacked up it will look like this


bottom=inside/liner
second=sleeves (folded)
top=cover

Step 5: Sew all the way around the four sides, leaving a small 6 inch gap unsewn. Make sure to backstitch at the beginning and end.

Step 6: Pull the fabric inside to the outside through the 6 inch hole.

Your finished cover will look something like this when it is pulled right side out.


Make sure to sew up the little 6 inch hole. You can topstitch around the whole thing while your at it for a finished look. 

And thats that. A super quick cover for your book!

4.06.2011


So Mama Made It is a day late this week. I have been a bit scatter brained lately. 
I made this for a girlfriend who just had her first baby last week. 
 
Its a crocheted teething string. You just place it in the fridge to get cold and then your little one munch on it to sooth teething pain. 


 You'll need:
Scissors
Crochet hook (any size depending on how big you want your beads)
                                Yarn. Best to use something soft and without a lot of loose fibers.


If you are unfamiliar with crochet, there are links at the end of this post to show you videos on how to do each stitch that I use. 

1. Ch 2.
6 sc in the first stitch (6 stitches total)

2. Two sc in each sc (12 stitches total)


3. SC2T 6 times (end with 6 stitches)
Slip stitch in first stitch of the round. Ch 1 and fasten off. 

Your final bead should look something like this.

Make as many or as few as you want. I breaded a few strands of yarn together to make the chain. String all your beads onto the chain and tie it off on both ends.

Video tutorials:

Chain
Single Crochet (SC)
Single Crochet Two Together (SC2T)
Slip Stitch

3.29.2011


So Cruz has acquired a new skill. Well two new skills technically. Thievery and concealment. He has taken to finding things a hiding them. Behind dressers, between the mattress and the boxspring, in drawers and under clothes. Its really more of an art actually. He is yet to hide something in the same place twice. And as impressive as it may sound, it is quite menacing. His latest victim? My camera battery. It was innocently charging in its holder on the wall and the next thing I knew it was missing. Its definitely somewhere in my room because there was about a 2 minute span between the time I plugged it in and I realized it was missing. So I am on the hunt. Until then, forgive the grainy iPhone photos.

Todays Mama Made It: 
Braided necklace/bracelet


This fabric was given to me by a friend. So cute right?


You will need:
scissors
measuring tape/ruler
pen
fabric

I started by making three 1 inch strips. I just went the whole length of the fabric so essentially the strips would end up being 1in wide by 36in long.


Fold each strip in half lengthwise at the top and pinch all three together at one end.


Tie that end in a knot (nothing has to be perfect, braids are SUPER forgiving on mistakes)


I like to hold one end in between my knees while I am braiding because, well, I've only got two hands and I need both of them for braiding.


Braid the fabric all the way to the end. Dont worry about keeping the fabric folded perfectly in half. It will pretty much just stay that way by itself as you braid. When you are done it should look something like this:


Tie off the other end. Instead of messing with a fancy closure, I just poked one end through the braid to keep it closed. Works really good, super quick and simple and you cant see it because it will be at the back of your neck.


And voila! A super simple, quick bracelet. It took me about a total of 7 minutes to make. What do you think?


Do you have something great that you would like to share with other mamas (you dont have to be a mom, obviously)? Shoot me an email, I love to hear from you and meet other crafty ladies!